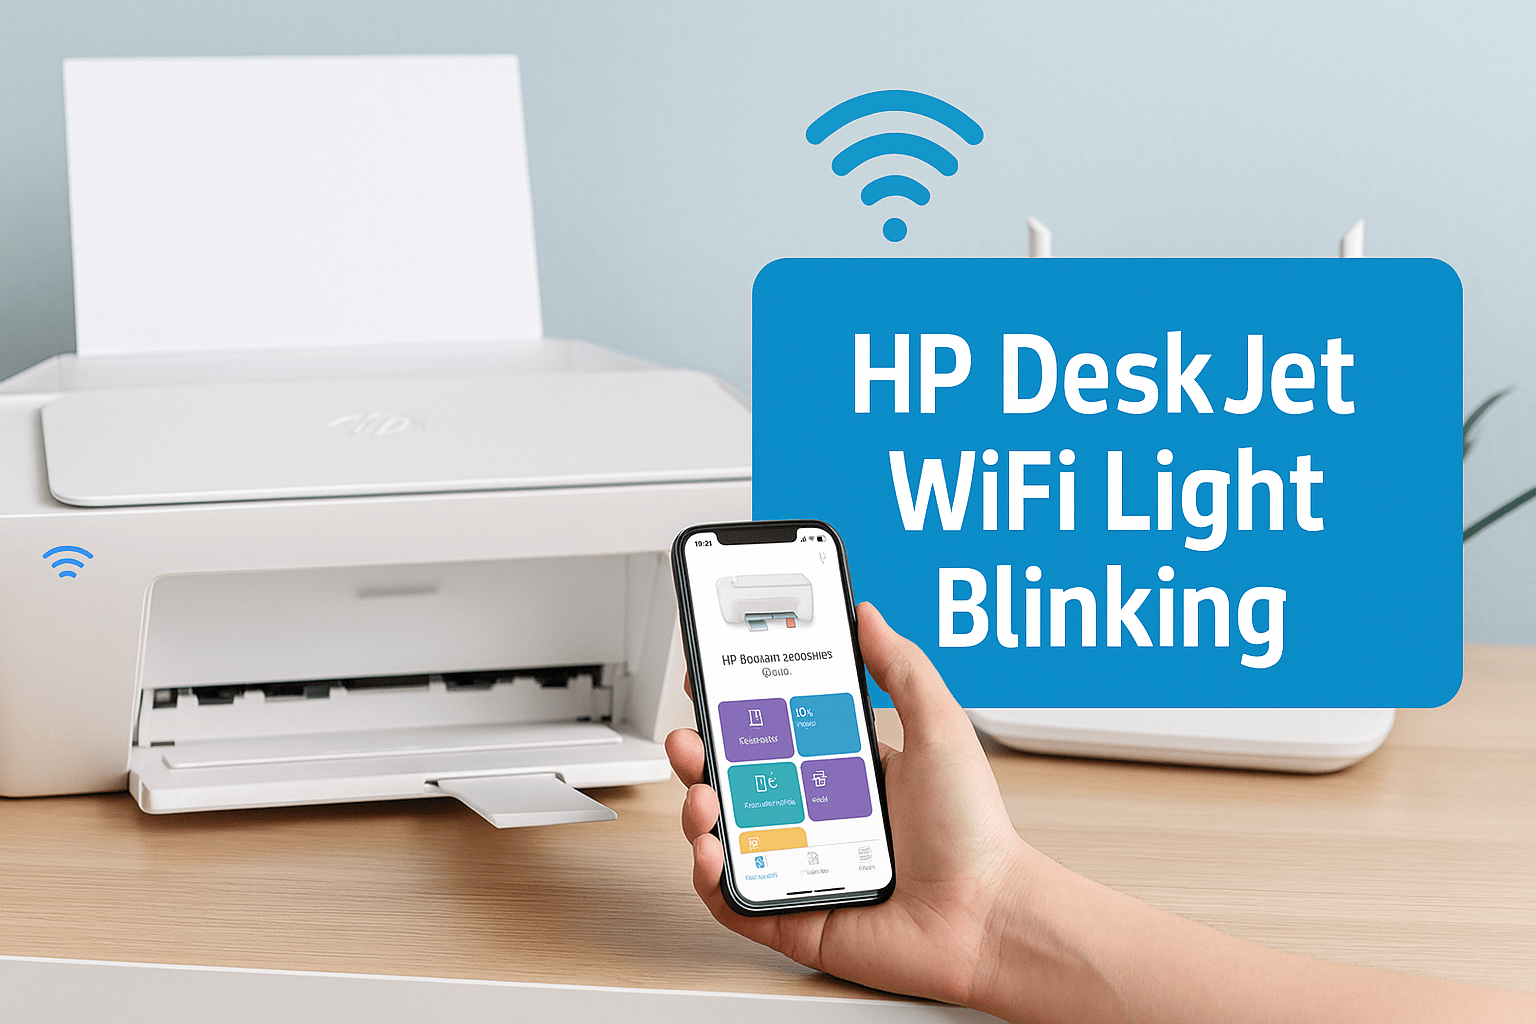
If you own an HP DeskJet printer, you might have noticed the WiFi light blinking on the control panel. This is a common issue faced by many HP DeskJet users, especially when trying to connect the printer to WiFi or troubleshoot wireless printing problems.
In this guide, we’ll explain why your HP DeskJet WiFi light is blinking and provide step-by-step solutions to fix it. By the end, your printer will be connected and ready for smooth printing again.
What Does the Blinking WiFi Light Mean on HP DeskJet Printers?
The WiFi (Wireless) light on your HP DeskJet printer indicates the wireless connection status. If it’s blinking instead of staying solid, it usually means:
📶 Printer is not connected to WiFi.
🔄 Printer is trying to connect to a network.
❌ Wrong WiFi password or incorrect setup.
⚠️ Router or network issue is preventing the connection.
Understanding these signals helps you know exactly where the problem lies.
Common Reasons Why HP DeskJet WiFi Light Keeps Blinking
❌ Wrong WiFi password entered during setup.
📡 Printer is too far from the WiFi router.
🔄 Printer lost connection after a router reset.
🔌 Printer firmware/software issue.
⚡ Interference from other devices.
How to Fix HP DeskJet WiFi Light Blinking (Step-by-Step)
Here are the most effective solutions to fix this problem:
1. Restart Printer and Router
Turn off your printer.
Unplug your router for 30 seconds, then restart it.
Turn the printer back on and check if the WiFi light stabilizes.
2. Reconnect HP DeskJet to WiFi
Press and hold the Wireless Button on the printer until the WiFi light starts blinking.
Within 2 minutes, press the WPS button on your router.
The WiFi light should stop blinking and turn solid blue once connected.
3. Use HP Smart App for Setup
Download the HP Smart App (Windows, Mac, iOS, or Android).
Open the app → Add Printer → Select your HP DeskJet.
Follow the instructions to connect your printer to WiFi.
4. Check WiFi Network Settings
Ensure your router is using 2.4 GHz frequency (most DeskJet models don’t support 5 GHz).
Confirm the WiFi password is correct.
5. Update Printer Firmware
Go to HP Support Website → enter your printer model.
Download and install the latest firmware update.
6. Reset Network Settings
If nothing works, reset the printer’s network settings:
Press and hold the Wireless + Cancel buttons together for 5 seconds.
The printer will reset, and you can set up WiFi again.
Prevent Future WiFi Issues with HP DeskJet Printer
Place your printer close to the router for better signal.
Avoid connecting too many devices to the same WiFi.
Regularly update printer drivers and firmware.
Use HP Smart App to monitor the printer’s health.
Final Thoughts
A blinking WiFi light on HP DeskJet printers is a clear sign of a connection issue. Luckily, it’s easy to fix by reconnecting the printer, using WPS, or resetting the network. With the steps above, you’ll have your printer back online in minutes.
If the issue persists, contact HP Support for advanced troubleshooting.
FAQs – HP DeskJet WiFi Light Blinking
1. Why is the WiFi light blinking on my HP DeskJet printer?
The WiFi light blinks when your HP DeskJet is not connected to a wireless network, is in setup mode, or when the wrong WiFi password was entered.
2. How do I stop my HP DeskJet WiFi light from blinking?
You can stop the blinking by reconnecting your printer to WiFi:
Press the Wireless button on your printer until it blinks.
Press the WPS button on your router within 2 minutes.
The light will turn solid once the connection is successful.
3. Can I connect my HP DeskJet to WiFi without WPS?
Printer Offline Error – How to Fix It (Windows & Mac Guide 2025)
If your printer shows “Printer Offline”, you’re not alone. This is one of the most common issues faced by both home and office users. The good news? Most printer offline problems can be fixed in just a few simple steps. In this guide, we’ll explain why your printer goes offline and how to fix it on both Windows and Mac computers.
🔎 Why Does My Printer Keep Going Offline?
Before fixing the error, it helps to understand the possible causes:
Loose or faulty cable connection
Wi-Fi or network issues
Outdated printer drivers
Incorrect default printer settings
Spooler service errors (Windows)
Firmware issues on the printer
🖥️ Fix Printer Offline Error in Windows (2025 Guide)
1. Check Your Connections
Ensure the USB cable is properly connected.
If wireless, confirm your printer and PC are on the same Wi-Fi network.
2. Set Printer as Default
Open Control Panel → Devices and Printers.
Right-click your printer → Set as Default Printer.
3. Restart the Print Spooler Service
Press Windows + R, type services.msc.
Find Print Spooler, right-click → Restart.
4. Update or Reinstall Printer Drivers
Go to Device Manager → Printers.
Right-click your printer → Update Driver.
Or visit the manufacturer’s site (HP, Canon, Epson, Brother) for the latest driver.
5. Run Windows Troubleshooter
Go to Settings → Update & Security → Troubleshoot.
Select Printer and run the troubleshooter.
🍏 Fix Printer Offline Error on Mac
1. Reset the Printing System
Go to System Preferences → Printers & Scanners.
Right-click on your printer list → Reset printing system.
2. Check Wi-Fi or USB Connection
Ensure your Mac and printer are connected to the same Wi-Fi.
Reconnect the USB cable if using wired mode.
3. Remove and Re-Add Printer
In Printers & Scanners, click the “+” sign.
Re-add your printer to refresh its configuration.
4. Update Printer Drivers on Mac
Go to Apple Menu → System Preferences → Software Update.
Install the latest drivers or firmware updates.
🛡️ Advanced Fixes for Printer Offline Issues
Assign a Static IP: Prevents your printer from changing IP addresses on Wi-Fi.
Check Firewall/Antivirus: Sometimes security software blocks printer communication.
Update Printer Firmware: Visit the manufacturer’s website for firmware updates.
🙋 Frequently Asked Questions (FAQs)
Q1: Why does my printer say offline but it’s connected? This usually happens due to outdated drivers, wrong default settings, or a temporary network glitch.
Q2: Can a virus cause printer offline errors? Not directly. But malware can disrupt network connectivity, which may affect printing.
Q3: What’s the fastest way to fix printer offline? Restart your printer, check connections, set it as default, and restart the spooler service.
Q4: Do I need to reinstall my printer every time it goes offline? No, reinstalling is a last resort. Try basic fixes first like updating drivers or resetting Wi-Fi.
✅ Final Thoughts
The Printer Offline Error is frustrating, but with the steps above, you can usually fix it within minutes. Whether you’re on Windows or Mac, always start with simple checks like connections and default settings before moving to advanced solutions.
🔑 Pro Tip: Regularly update your printer drivers and firmware to avoid common offline issues in the future.
Sublimation printing is a fantastic way to create vibrant, long-lasting designs on t-shirts and other fabric items. If you own an HP Smart Tank 5101 printer, you might wonder if you can use it for sublimation printing. The good news is that with the right steps and materials, you can convert your HP Smart Tank 5101 into a sublimation printer, perfect for creating custom t-shirts. This article will guide you through the process, from setting up your printer to transferring your designs onto t-shirts.
What You Need to Get Started with HP Smart Tank 5101 Sublimation Printing
Before diving into the process, you’ll need to gather a few essential materials:
HP Smart Tank 5101 Printer (preferably new or unused with standard ink, otherwise clean printhead with alcohol)
Sublimation Ink compatible with the printer
Sublimation Paper
Design Software (e.g., Adobe Photoshop or CorelDRAW)
Heat Press Machine
Sublimation Blank T-Shirts (preferably made of polyester or with a high polyester content)
The first and most crucial step is preparing your HP Smart Tank 5101 for sublimation. If your printer has been used with regular ink, it’s vital to thoroughly clean the system or ideally, start with a new printer to avoid any contamination.
Empty the Ink Tanks: If the printer has been previously filled with regular ink, use a syringe to remove all ink from the tanks. It’s important to ensure that no regular ink remains, as it can interfere with sublimation printing.
Fill with Sublimation Ink: Carefully pour the sublimation ink into the appropriate tanks. Ensure that you match the ink colors correctly to avoid any printing errors.
Step 2: Set Up the Printer for Sublimation
After filling the printer with sublimation ink, you need to set up the printer for optimal sublimation printing:
Run Initial Setup: If this is your first time using the printer, follow the setup instructions provided in the manual. This step will prime the print heads and prepare the printer for use.
Print a Test Page: It’s essential to print a test page to ensure that the sublimation ink is flowing correctly and that the colors are accurate. Adjust settings if necessary.
Step 3: Design Your T-Shirt Image
Now that your printer is ready, it’s time to create the design you want to transfer onto your t-shirt.
Use Design Software: Open your preferred design software, such as Adobe Photoshop or CorelDRAW. Create or edit your design, keeping in mind the dimensions of the t-shirt.
Mirror the Image: Before printing, mirror the image in your software. This step is crucial because the design will be reversed during the sublimation process.
Step 4: Print the Design on Sublimation Paper
With your design ready, you can now print it onto sublimation paper.
Load Sublimation Paper: Place the sublimation paper into the printer with the coated side facing the print head.
Print the Design: Adjust your printer settings to ensure high-quality output. Choose the highest print quality and select “Plain Paper” as the paper type in your printer settings.
Step 5: Transfer the Design to the T-Shirt
Now comes the exciting part—transferring your design onto the t-shirt using a heat press.
Prepare the T-shirt: Place the sublimation blank T-shirt on a flat surface and smooth out any wrinkles. Position the printed sublimation paper on the t-shirt with the design facing down.
Use Heat-Resistant Tape: Secure the paper with heat-resistant tape to prevent it from shifting during the transfer process.
Heat Press the Design: Set your heat press to the recommended temperature, usually around 380°F to 400°F, and apply firm pressure for 40-60 seconds. The exact settings may vary depending on the fabric and sublimation paper you are using.
Peel and Reveal: After pressing, carefully peel off the sublimation paper while it’s still hot to reveal the vibrant, permanent design on your t-shirt.
Step 6: Maintain Your Printer
To keep your HP Smart Tank 5101 in good condition for future sublimation projects, it’s essential to maintain it regularly.
Regular Use: Print something with your sublimation ink every few days to prevent the ink from drying out and clogging the print heads.
Cleaning: Perform regular cleaning of the print heads as per the printer’s maintenance guidelines to ensure optimal print quality.
Final Thoughts
Using the HP Smart Tank 5101 for sublimation printing is a great way to create custom t-shirts with professional-quality results. By carefully following the steps outlined above, you can successfully convert your printer for sublimation use and start producing unique, personalized t-shirts. Whether you’re creating designs for yourself, gifts for friends or products to sell, the possibilities with sublimation printing are endless.
If your HP Envy 6000 not prinitng color on Mac computer then it could be a hardware or a software issue. Firstly we have to find why HP Envy 6000 not printing in color Mac OS. Not printing color is a hadware or software issue? To find that try to make a color copy from the printer itself. If it is making copies in color that means there is No hardware problem, if not then you have to check your ink cartridges or printhead of the printer.
Steps to fix HP Envy 6000 printer not printing in color on Mac Computer
There could be several reasons why your HP Envy 6000 is not printing in color on your Mac. Here are some common causes and potential solutions:
Change Printer Settings :-
Changing the HP Envy 6000 series printer settings on Mac computer will fix this not printing color problem with Mac computers.
The printer settings on your Mac might be set to grayscale or black and white. Check the print dialog box to ensure the color option is selected.
You have to check the color settings is selected for the HP Envy 6000 printer on your Mac computer.
Outdated Printer Drivers
If your printer drivers are outdated, it might cause issues with color printing. Make sure you have the latest drivers installed for your HP Envy 6000. You can download them from the HP support website.
Firstly, go to printer settings and select the right drivers for your printer.
Select HP Envy 6000 series printer from the list insted AirPrint.
Ink Levels
Low or empty color ink cartridges can prevent your printer from printing in color. Check the ink levels through the printer’s control panel or the HP Smart App, and replace any low or empty cartridges.
To check ink levels on Mac go to options and supplies.
Clogged Printhead
A clogged printhead can cause color printing issues. Use the printer’s maintenance settings to clean the printhead, or manually clean it if necessary.
This video will explain you how to clean the printhead of your HP Envy 6000 series printer.
Software Updates
Ensure that your macOS is up to date. However, updates can resolve compatibility issues between your Mac and the printer.
Printer Configuration
There might be a configuration issue with your printer on the Mac. Try resetting the printing system on your Mac, then re-add your HP Envy 6000 printer.
Connection Issues
Ensure that the printer is properly connected to your Mac, either via USB or over the network, and that there are no connection issues.
HP Smart App
Lastly, using the HP Smart App can help diagnose and troubleshoot issues. Make sure the app is installed and set up properly on your Mac.
(Method 2) Fix HP Envy 6000 not printing color Mac by Adding Printer again
This method is best if you have checked everthing on the internet to fix this problem. I will tell you why, because most of the times drivers of your printer do not communicate with each other dosen’t matter you reset the printer settings and all.
If your HP Envy 6000 series printer is facing software issue then this method is best to fix this issue. As i already told you how to check hardware and software problem with print system.
Firslty open HP Smart app on your Mac
Add new printer.
Now printer is add to the HP Smart app.
Go to printer and scanners of your Mac settings.
Click on ” + ” Sign to add printer.
Select the HP Envy 6000 series printer from the list.
And make sure the right drivers are selected not AirPrint.
Boom your HP ENvy 6000 printer will start printing in color.
Moreover, if you’ve checked all these areas and your HP Envy 6000 still isn’t printing in color, you may need to contact HP support for further assistance.
HP Deskjet 4255e is the latest printer from HP which can help you to copy, scan and print. In this article we will explain you today how to connect an HP Deskjet 4255e printer to wifi at your home or office using HP Smart App. HP Deskjet 4255e is a wireless printer and it can only be setup wirelessly using the HP Smart App.
HP Deskjet 4155e series printer is a wireless printer and there is only one options that you can use for wireless Setup. Customers who are new to this HP Deskjet 4155e series printer might face difficulty while connecting it to wifi for the first time. Although here in this help guide, we will tell you all the possible ways to connect an HP Deskjet 4255e to wifi for Windows, Mac and phone users. You can use this printer with any smartphone or computer once its connected with the wifi. However, before connecting you should install the HP Smart app on any of your device like phone, laptop or computer.
Connect HP Deskjet 4255e series printer to Wi-Fi using (HP Smart App)
To connect your HP Deskjet 4255e printer to Wi-Fi, follow these steps:
Turn On the Printer:
Make sure your printer is powered on. If it’s already on, ensure that it is not in sleep mode.
Access the Printer Control Panel:
Go to the control panel on the printer. This is typically, buttons with some signs on it. After that you have to check the wireless icon on the printer small screen. Make sure its blinking.
Wireless Setup Mode
Firstly, press and hold the Wireless and Cancel button at the same time for 10 sec. Once its done you will see the power button flashing.
This means your HP Deskjet 4255e series printer is in wireless setup mode and ready for wireless connection.
Open HP Smart App
In this step, we have to install the HP Smart App on our device like laptop or phone.
Now open HP Smart App on the laptop and click on “Add new printer“.
Select Wireless Printer
Once you click on add new printer HP smart will start searching for your wireless printer. You will Find HP Deskjet 4200 Series printer in the list.
Select the printer and het Setup button at the bottom.
Enter Wi-Fi Password:
Now you have to enter the wifi password of your home or office Wifi Network.
Confirm Connection:
Once all the steps done HP Smart App will ask you to press the ” i ” button on the printer control panel to check the proximity of the printer.
Congrats your HP Deskjet 4255e printer is connected to the wifi and laptop. Now you can use this printer with any device wirelessly.
Connect HP Deskjet 4255e to Wifi on Windows 10 or 11
Here is the video that will show you the same steps that i explain above. This will help you to connect any HP Deskjet 4255e series printer to wifi.
Connect HP Deskjet 4255e to Wifi on iPhone and Android
Its very simple if you want to connect HP Deskjet 4255e printer to your iPhone to print wirelessly. These are the steps below that will help you to connect HP 4255e printer to iphone or Android phone.
Firslty, install HP smart app from App store or play store.
Open HP Smart App and click on Add new printer.
Slect the HP Deskjet 4200e Series printer.
Click on setup and follow the instructions on the screen.
Enter the WIfi password and then press the ” i ” information button on the printer.
Congrats your ptinter is connected to your smartphone.
If you’re encountering a message stating that “This feature has been locked by the person who set up the printer,” on your HP Printer then you have to follow the steps below to unlock the settings to proceed with connecting your HP printer to Wi-Fi again. Here are the steps to unlock the printer features:
Steps to Fix “This feature has been locked by the person who set up the printer”
There are only two ways to fix this problem one is to update the firmware and other is to reset the printer to factory default. So both the solutions are explained below.
Update Printer Firmware
If your HP Printer firmware is not up to date then you might see this “features locked” message on you printer screen. These steps will help you how to update the Hp Printer firmware.
Make sure your printer is powered on and connected to the internet.
On the printer’s control panel, navigate to the “Setup” or “Settings” menu.
Look for “Printer Maintenance” or “Service” options.
Select “Firmware Update” or “Printer Update.”
Choose “Check for Updates” or a similar option.
If an update is available, follow the on-screen instructions to download and install it.
This will fix the problem for you, if not then follow the next step.
Factory Reset Instructions
Firstly, from the printer home screen press the return icon (not illuminated at this point) 3 times very quickly. The screen will then change to show a single menu item “Support Menu”
Press “Support Menu”
2. Use the up / down arrows to select “Resets Menu” & press OK.
3. Most importantly, you can select from:
Partial reset or Semi-full reset,
4. If the issue persists, come back and select Semi-Full reset.
5. Atlast, Press OK when the required option is selected.
In conclusion, It should reset the printer and resolve the issue “This feature has been locked by the person who set up the printer”.
Note:- If you are still facing the problem with your printer then contact our printer support team for free diagnose and more technical help.
To clarify Truebonzer LLC are third-party IT and Computer technical support service provider. We help customers who face technical problems with their devices like printers, windows 10, laptops, antivirus, computers, tablets, and smartphones, etc. You can get the same services from the manufacturer free of cost. We only provide support in the USA and Canada 24×7. Truebonzer LLC is not affiliated with any brand or products on this website. Images and photos shown in this article are just for explanation purposes only. If you have any issue with the content or information shown above please contact us.
We strictly adhere to FTC’s Mail, Internet, or Telephone Order Merchandise Rule for consumer protection.


Recent Comments